How to Export ReoLink CCTV Footage for Police (2025 Guide)
By Leo Alampi, Owner, Perth Security Systems
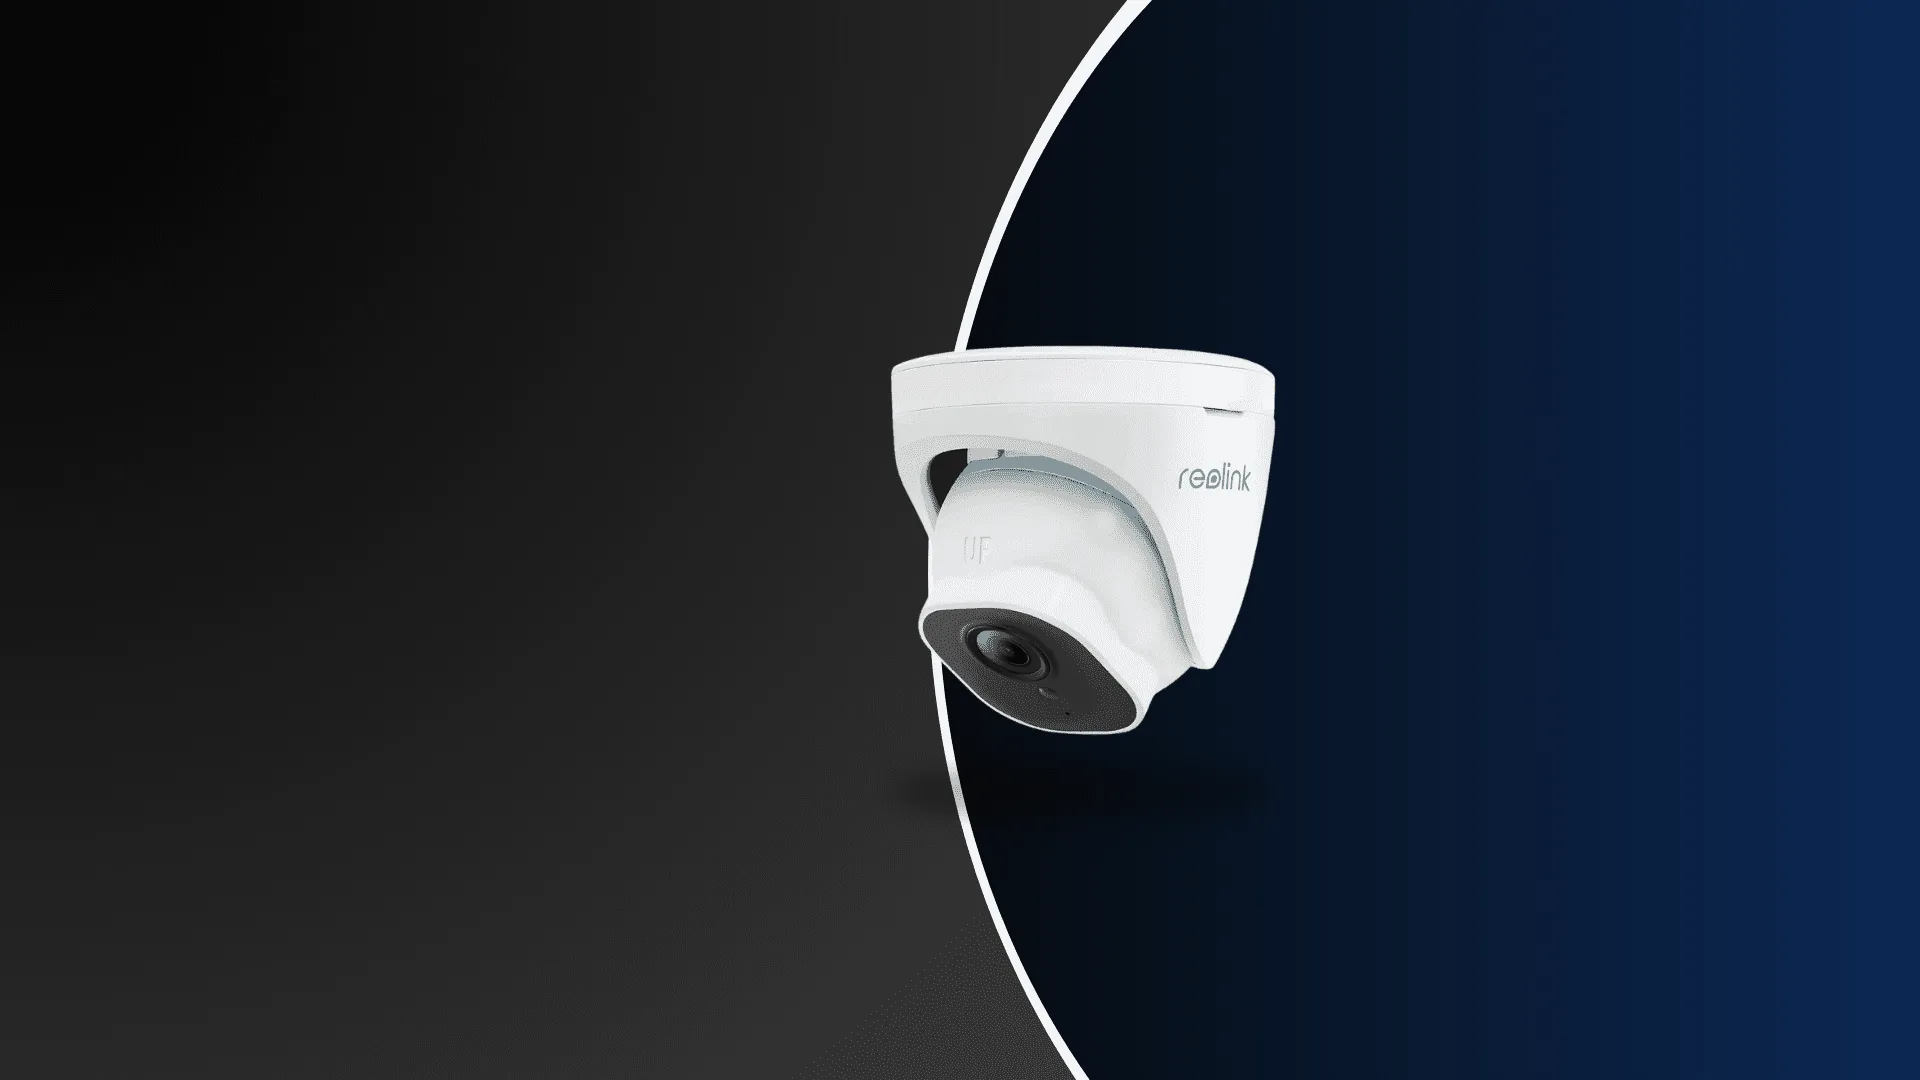
If you've had a break-in, theft, hit-and-run or antisocial behaviour caught on your ReoLink cameras, WA Police will usually ask for the raw footage as an MP4 file. This guide walks you through how to playback ReoLink camera footage and export it - first from the ReoLink mobile app, then directly from a ReoLink NVR.
Before You Start
- Note the exact date and approximate time of the incident.
- Never overwrite footage - most ReoLink systems loop-record, so export the clip as soon as possible.
- Export the full continuous clip, not a screen recording - police need the original file with its timestamp metadata.
Option 1 - Export ReoLink Footage from the Mobile App
The ReoLink mobile app (iOS and Android) is the fastest way to export ReoLink footage for a police report if you only have a camera or two.
- Open the ReoLink app and tap the camera you want footage from.
- Tap the Playback icon (usually a clock or filmstrip).
- Select the correct date from the calendar. The timeline at the bottom shows recorded footage in blue (continuous) or yellow (motion).
- Scrub the timeline to a few seconds before the incident.
- Tap the Clip / Scissors icon. Drag the start and end handles to cover the full incident with 10-15 seconds of padding either side.
- Tap Download or Save. The clip saves to your phone's Photos / Gallery as an MP4 file.
- Attach the MP4 to your WA Police online report or bring it on a USB stick to the station.
Option 2 - Export ReoLink Footage from the NVR
If you have a ReoLink NVR (RLN8, RLN16, RLN36 etc.), you'll get better quality and longer clips by exporting straight from the recorder rather than the app.
- Plug a USB stick (FAT32-formatted, at least 8GB) into the front of the NVR.
- Right-click on the live view and choose Playback.
- Tick the channels (cameras) you want to export.
- Select the date on the calendar and scrub the timeline to the incident.
- Click the Video Clip button and set start / end times.
- Click Backup and choose the USB stick as the destination.
- Wait for the export to finish before removing the USB stick. Files export as MP4 with an embedded timestamp.
Option 3 - Export from the ReoLink Desktop Client
The free ReoLink Client for Windows and Mac connects to your cameras or NVR over the local network and gives you the cleanest export workflow.
- Download the ReoLink Client from reolink.com and log in to your device.
- Open Playback, pick the channel and date.
- Use the Clip tool to mark start and end.
- Click Save and choose MP4 as the format.
What Police Need
- Original MP4 file - not a screen recording, not a re-encoded copy.
- Timestamp visible in-frame or in the file metadata.
- The full incident plus 10-15 seconds padding either side.
- Multiple angles if you have them (front door, driveway, side gate).
Can't Find the Footage?
If your ReoLink camera didn't record the incident - or you can't work out how to export the clip - our Perth installers can remote in, pull the footage and hand you a police-ready MP4. We service ReoLink installs and offer CCTV maintenance and repairs across the entire Perth metro area.